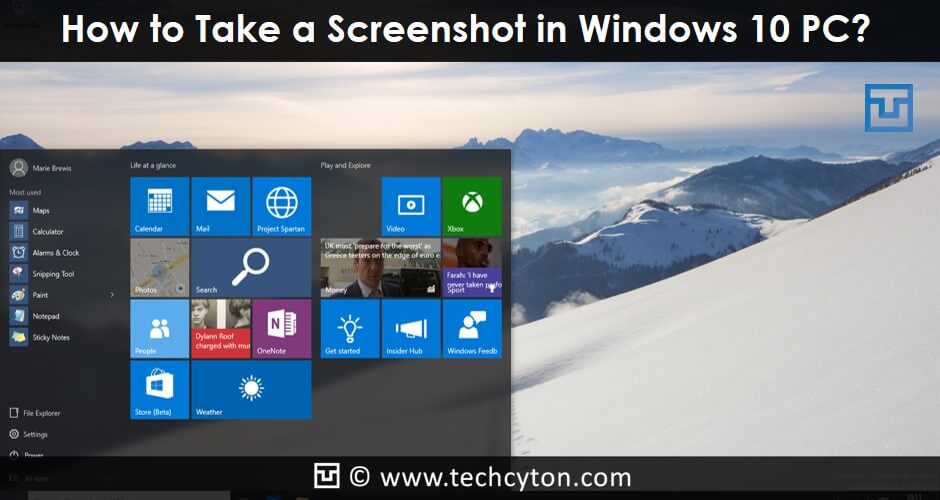
How to Take a Screenshot in Windows 10 PC? – We often take screenshots of a work or anything on the system. The Screenshot is an image to maintain a record of any item and you can store the screenshot in your monitor or mobile device. Well, do you know how to take a screenshot on your windows? Here is a simple guide that will help you to know how to take screenshots on your windows.
In fact, there are many tools and option to take a screenshot from windows 10 PC. Let’s have a look at the different methods here.
Method 1: Print Screen
Probably almost all of you do this easiest and the simple way when you want to take a screenshot. By using print screen method, you will be able to save the screenshot as a file on the desired location of the windows. All you need to do is to just press “PrtScn” button on your keyword and when you press it, you will get the screenshot of the currently opened page on your system. This screenshot can be saved anywhere on your desktop or documents in your system. Also, note that you will not get any confirmation or notification for the screenshot taken.
Step 1: Save Screenshot as a file
You can do this by clicking on Windows logo key + PrtScn. If you have a tablet, this can be done by clicking Windows logo button + Volume down key. By doing this, your screen will get dimmed for some time and this screen will then get copied and you can now save it as a file. The file will be saved in the screenshot folder. If it is not created before, it will be created now automatically. The screenshot file extension will be .png.
Step 2: Display screenshot without Saving
If you wish to take a screenshot of a display, you need to press on PrtScn and by this, he display will get copied. You can paste this copied display on anywhere in the system. In some other laptops, you may need to press “Ctrl + PrtScn” or “Fn + PrtScn” for this.
Step 3: Screenshot of one window only
If you want to take a screenshot of a window, you need to press on window title bar in order to make it active. Now, you need to hold on Alt + PrtScn key, which will copy the active window and it can be pasted anywhere you want.
Method 2: Taking screenshots with Snagit
Snagit is one of the ideal tools that you will be able to take a screenshot with it on your windows. It is a superb tool with good features and easy to use. Using it, you will be able to take screenshots from specific windows and region screenshots and also full text can be captured by scrolling your windows down similar to web pages. Using Snagit, you can also have short videos and able to draw pictures or shapes or arrows. If you have to take more screenshots, Snagit is a wonderful tool for the same. However, Snagit is a paid screenshot tool and you can always check its features and functions before buying it.
Method 3: Use of Snipping tool
A snipping tool is a tool that can be seen on any windows system. There are now many new features for this, which also include taking screenshots of an open window or any specific part of it or the entire screen itself. However, there is one drawback for this tool. You can take screenshots with this tool only when there is no involvement of a mouse or moving the mouse. In case, if any pop ups come while taking the screenshot, it can be a difficult process altogether.
In the snipping tool, you can create a screenshot in this way:
Step 1 : Press on the PrtScn on your keyboard and your current screen will be captured.
Step 2: This captured screen is now to be loaded on an image editor and you can remove the screen parts that you don’t want to be included in the screenshot.
Step 3: Now you have to save the file. Your screenshot will now be ready.
Snipping tool is now having a “Delay” option and it helps you to take screenshots of popup menus in an easy way. All you need to do is to open the snipping tool app and click on Delay option. You can delay the time in seconds as per your requirement by clicking on the drop down list of seconds (0-5 seconds).
See Also: How to Use Xbox One Controller on Windows, Linux, and OS X
Method 4: Screenshots with Windows 10 Game Bar
Windows 10 is having Game DVR, it enables you to record game play, and you can create screenshots of PC games. Using the Game bar, you can take a screenshot and it gets saved in Png format. However, you have to launch “Xbox app” before you begin taking a screenshot on Game Bar. By launching this app, you will be able to configure the settings for Game DVR. Now, using this Game DVR, you will be able to take screenshots.
When the open game is active or app window is active, you can press on “Windows + G” Now, you have to press on Game Box if shown. After that, you will have to press on Camera icon or else “Win +Alt + PrtScn”. By pressing it, you will be able to take a screenshot of your desired screen. Please note that it is a keyboard shortcut and it can be worked only when you have checked in “Yes” when the game box is prompted. After this, you will get a notification saying that the screenshot is saved now.
These are some of the simple and easy ways to take a screenshot on your windows 10 PC. There are in fact many such ways. However, each method has its own merits and demerits. Hence, it will be ideal to choose the method, which is easy and suitable for your PC. You can either choose a basic screenshot saving method or a third party tool. However, it all depends upon your knowledge and system configurations.
More from my site
-
 How To Boot Into Safe Mode On Windows 8 or 10?
-
 How To Create a USB Flash Drive to Install Windows 10, 8, 7?
-
 How to Rotate Desktop Screen on Laptop or PC?
-
 How to Easily Encrypt Files on Windows, Linux, and Mac OS X
-
 How to Download Bluestacks Offline Installer for Windows PC?
-
 How to Use Xbox One Controller on Windows, Linux, and OS X?
Speak Your Mind